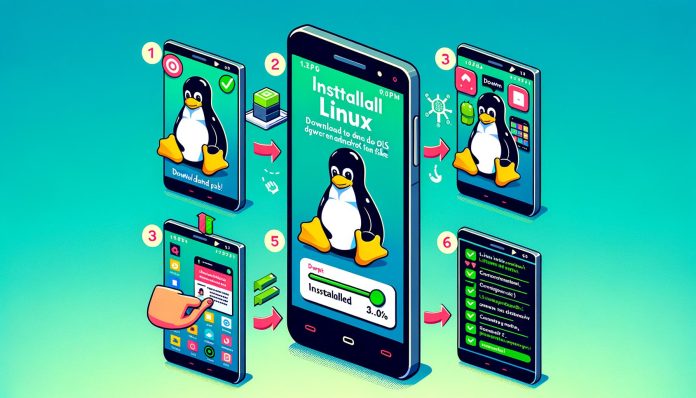
If you’re anything like me, you might have wondered what it would be like to run a full-fledged Linux operating system on your Android smartphone. The blend of Android’s flexibility and Linux’s robustness offers a world of possibilities, whether for development, education, or just for fun. In this article, I will guide you through the process of installing Linux on your Android smartphone, complete with tips and tricks to ensure a smooth experience.
Why Install Linux on Android?
Before we dive into the installation process, let me share a few reasons why I believe installing Linux on an Android device can be beneficial:
- Customization: Linux offers immense customization options, allowing me to tailor the environment to my needs.
- Development Environment: For developers like me, having a native Linux environment on a mobile device can drastically improve productivity and streamline workflows.
- Learning Experience: I find that using Linux on a smartphone is a fantastic way to learn more about the operating system and its various distributions.
- Enhanced Performance: In many cases, lightweight Linux distributions can perform better than Android on older hardware.
With that said, let’s proceed with the installation process.
Prerequisites
Before we start, there are a few things I need to prepare:
- A Compatible Android Device: Ensure that your smartphone is compatible with the installation process. Most devices running Android 5.0 or later should work.
- Backup Your Data: Always back up important data on your device. The installation process may involve wiping data.
- Root Access: Some methods require root access to your device. I recommend checking if your device can be rooted safely.
- A Stable Internet Connection: During the installation, you’ll need to download various files.
- Battery Charge: Make sure your smartphone is charged to at least 50% to avoid interruptions.
Choosing the Right Linux Distribution
There are numerous Linux distributions available, each with its own strengths and weaknesses. Some popular options for mobile devices include:
- Ubuntu Touch: A touch-optimized version of Ubuntu designed for smartphones and tablets.
- Debian Noroot: A Debian-based distribution that runs in a chroot environment without root access.
- Kali Nethunter: Designed for penetration testing, this version of Kali Linux is optimized for mobile devices.
- Termux: While not a full Linux distribution, Termux is a terminal emulator that allows me to run a Linux environment on Android.
For this guide, I will focus on Ubuntu Touch due to its user-friendly interface and robust community support.
Installing Ubuntu Touch on Android
Step 1: Prepare Your Device
- Unlock Bootloader:
- This is an essential step. Each manufacturer has a different method for unlocking the bootloader. Generally, it involves enabling Developer Options and USB debugging on your device.
- Run the command:
adb reboot bootloaderto reboot into the bootloader.
- Install ADB and Fastboot:
- If you haven’t already, install ADB and Fastboot on your computer. These tools will help me communicate with the Android device.
- For Windows, I can download the platform-tools from the Android Developer website. For Linux, I can use a package manager like
aptorsnap.
- Backup Important Data:
- Use tools like Titanium Backup or Helium to back up applications and data.
Step 2: Download Installation Files
- Visit the official UBports website to download the appropriate Ubuntu Touch image for my device. I should ensure that the version I download is compatible with my device model.
Step 3: Flashing Ubuntu Touch
- Boot into Recovery Mode:
- Power off the device and boot into recovery mode. This can usually be done by holding down the volume up and power buttons simultaneously.
- Flash the Ubuntu Touch Image:
- Connect the device to my computer using a USB cable.
- Open a terminal and navigate to the directory where I downloaded the Ubuntu Touch image.
- Use the following command to flash the image:
bash fastboot flash system <name_of_image_file.img> - Once the flashing process is complete, reboot the device using:
bash fastboot reboot
Step 4: Set Up Ubuntu Touch
- Initial Setup:
- Upon rebooting, I will be welcomed by the Ubuntu Touch setup screen. Follow the on-screen instructions to configure my device, including language selection, Wi-Fi setup, and account creation.
- Installing Additional Applications:
- Once the setup is complete, I can access the OpenStore, where I can download applications specifically designed for Ubuntu Touch.
Step 5: Explore and Customize
Now that I have Ubuntu Touch installed, the real fun begins! I can explore the different applications, customize the interface, and even install development tools if needed.
Troubleshooting Common Issues
While the installation process is usually straightforward, I may encounter a few issues along the way. Here are some common problems and their solutions:
- Bootloop: If the device gets stuck in a bootloop, I can try clearing the cache partition from the recovery mode.
- Missing Wi-Fi/Network: If Wi-Fi or mobile data isn’t working, I should check if the drivers are properly installed or if I need to install additional packages.
- Slow Performance: If the system is sluggish, I might consider using a lighter desktop environment or customizing the settings for better performance.
Conclusion
Installing Linux on an Android smartphone can be an incredibly rewarding experience. Whether I want to use it for development, learning, or simply to enjoy a different operating system, the process is manageable with the right preparation and guidance.
I hope this step-by-step guide has been helpful in navigating the installation process. Remember to back up your data and thoroughly research your specific device compatibility to ensure a smooth transition. Happy exploring!
Feel free to explore more about Linux distributions and their benefits by checking out Linux.org for additional resources and community support.
<iframe width="560" height="315" src="https://www.youtube.com/embed/uGJ1mmKxYT8?si=aIqIbiU0bPPKbaMA" title="YouTube video player" frameborder="0" allow="accelerometer; autoplay; clipboard-write; encrypted-media; gyroscope; picture-in-picture; web-share" referrerpolicy="strict-origin-when-cross-origin" allowfullscreen></iframe>


.jpg?w=100&resize=100,70&ssl=1)
