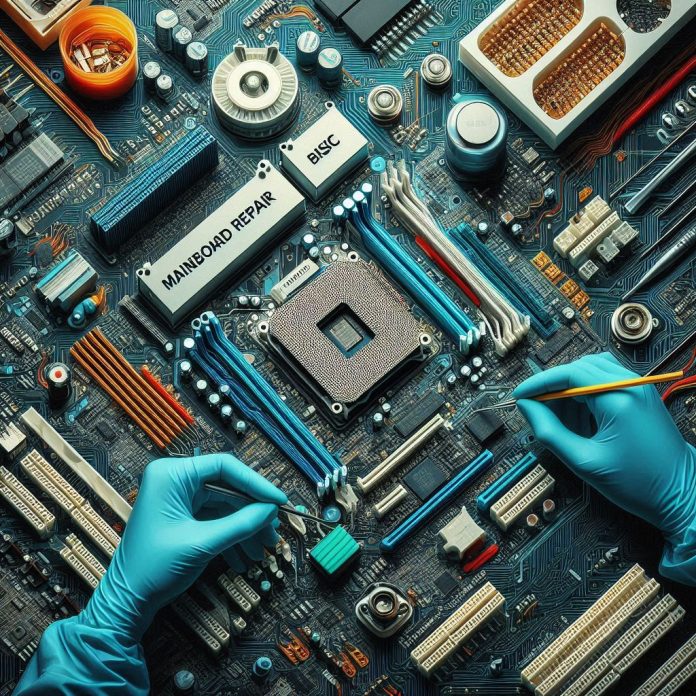
When it comes to electronics, the mainboard, or motherboard, is the heart of any device. Whether it’s a computer, gaming console, or even a smartphone, understanding how to repair a mainboard can be essential for anyone involved in tech repair or DIY electronics. In this article, I will share some foundational concepts and techniques of mainboard repair that can help you troubleshoot and fix issues effectively.
The mainboard, often referred to as the motherboard, is the central printed circuit board (PCB) in a computer or electronic device. It connects all components, including the CPU, RAM, storage, and expansion cards, facilitating communication between them. A well-functioning mainboard is crucial for the overall performance and stability of the device.
Common Issues with Mainboards
Before diving into repair techniques, it’s important to recognize the common issues that can arise with mainboards:
- Physical Damage: This includes cracks, broken traces, or damaged connectors.
- Power Issues: Symptoms such as failure to boot, random shutdowns, or failure to power on can indicate power-related problems.
- Corrosion: Exposure to moisture can lead to corrosion, which can disrupt connections and functionality.
- Component Failure: Capacitors, resistors, and other components can fail over time, leading to malfunctions.
Tools Needed for Mainboard Repair
Having the right tools is essential for effective mainboard repair. Here are some tools I recommend:
- Screwdrivers: A set of precision screwdrivers, including Phillips and flathead, is necessary for opening devices.
- Multimeter: This tool helps in checking voltage, continuity, and resistance in the circuit.
- Soldering Iron: A good-quality soldering iron is essential for repairing or replacing components.
- Desoldering Pump: Useful for removing solder when replacing components.
- Hot Air Rework Station: For more advanced repairs, especially for surface-mounted devices.
- Magnifying Glass or Microscope: For inspecting small components and traces.
Basic Troubleshooting Steps
When you encounter issues with a mainboard, the first step is to troubleshoot. Here’s a systematic approach I follow:
1. Visual Inspection
Start with a thorough visual inspection of the mainboard. Look for:
- Burn marks or discoloration
- Damaged connectors or pins
- Bulging or leaking capacitors
- Broken traces or physical damage
2. Check Power Supply
Using a multimeter, check the power supply to ensure it is providing the correct voltage. If the device fails to power on, the power supply could be the culprit.
3. Test Components
If you suspect a specific component, such as a capacitor or resistor, test it using a multimeter. Components that fall outside their specified values should be replaced.
4. Booting Issues
If the device powers on but fails to boot, it could be an issue with the BIOS or other components. Resetting the BIOS by removing the CMOS battery for a few minutes may help.
5. Use of Diagnostic Tools
Employ diagnostic tools or software to identify issues. Many motherboards come with built-in diagnostic lights or speaker codes to help pinpoint problems.
Repair Techniques
Once you have diagnosed the issue, the next step is to perform the necessary repairs. Here are some basic techniques I find useful:
Soldering and Desoldering
Soldering is a critical skill for mainboard repair. When replacing components, follow these steps:
- Remove the Damaged Component: Use a desoldering pump to remove the solder from the component’s pins.
- Clean the Area: Ensure the pads are clean and intact.
- Insert the New Component: Place the new component in the correct orientation and solder it in place.
Repairing Broken Traces
If you find broken traces on the mainboard, you can repair them by:
- Identifying the Break: Use a multimeter to locate the broken trace.
- Creating a Jumper: Use a thin piece of wire to bridge the broken trace, soldering it at both ends.
Replacing Capacitors
Capacitors are commonly replaced components. When replacing:
- Identify the Type: Make sure to use the same capacitance and voltage rating.
- Desolder the Old Capacitor: Remove it carefully to avoid damaging the board.
- Solder the New Capacitor: Ensure proper orientation (polarity) when installing.
Preventative Measures
To minimize the risk of future mainboard issues, consider the following preventative measures:
- Keep the Environment Dry: Avoid exposing electronics to moisture.
- Use Surge Protectors: Protect devices from power surges.
- Regular Maintenance: Periodically clean dust and debris from devices.
Resources for Further Learning
For those looking to deepen their knowledge in mainboard repair, there are several excellent resources available:
- Online Forums: Websites like iFixit and Electronics Point offer community support and tutorials.
- YouTube Channels: Channels such as “Eevblog” provide informative videos on electronics repair.
- Books: Look for books focused on electronics repair and soldering techniques, such as “The Art of Electronics” by Paul Horowitz.
Conclusion
Repairing a mainboard can seem daunting at first, but with the right tools, techniques, and understanding, it becomes manageable. By following the troubleshooting steps and repair techniques outlined in this article, I hope you feel more confident in your ability to tackle mainboard issues. Remember, practice makes perfect, and every repair provides valuable learning experiences.
By understanding the fundamentals of mainboard repair, we can all contribute to extending the life of our electronic devices while enhancing our technical skills. Whether you’re a seasoned copywriter or a tech enthusiast, the knowledge you gain here can empower you to take on electronics repair challenges with confidence.
<iframe width="560" height="315" src="https://www.youtube.com/embed/i293n9VVpHg?si=pC4kvNHPU6V_DLht" title="YouTube video player" frameborder="0" allow="accelerometer; autoplay; clipboard-write; encrypted-media; gyroscope; picture-in-picture; web-share" referrerpolicy="strict-origin-when-cross-origin" allowfullscreen></iframe>


.jpg?w=100&resize=100,70&ssl=1)
