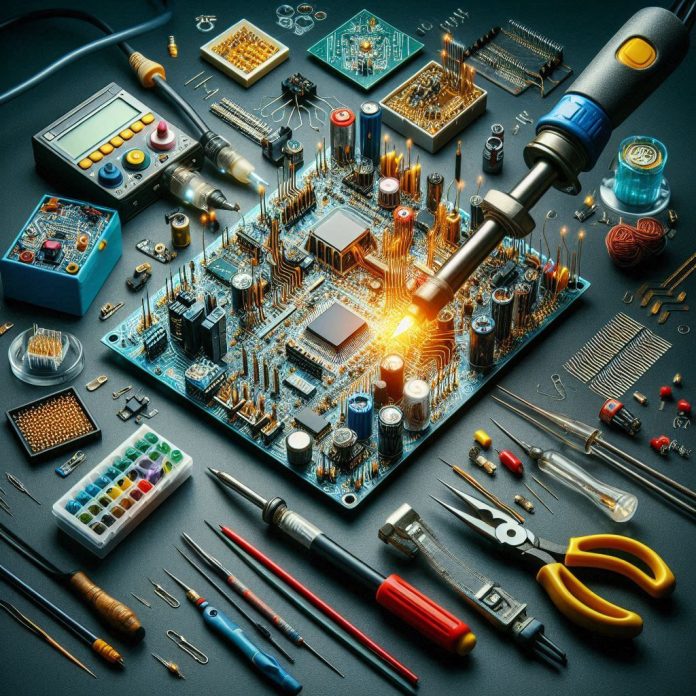
In today’s digital age, the realm of electronics has never been more accessible. Whether you’re looking to hone your skills, explore new hobbies, or simply add some tech-savvy projects to your repertoire, there are countless electronics projects you can build at home. In this article, I will share some of the best electronics projects that cater to various skill levels, allowing you to learn and create in the comfort of your own space.
Before diving into the projects, it’s important to understand the benefits of building electronics at home. Not only do these projects provide a practical application of theoretical knowledge, but they also help develop problem-solving skills, foster creativity, and cultivate a sense of accomplishment. Moreover, many of these projects are cost-effective and can be completed with readily available materials.
1. LED Cube
Overview
An LED cube is a popular project that showcases visual effects using multiple LEDs arranged in a three-dimensional grid. This project is not only visually appealing but also teaches essential skills in programming and circuit design.
What You’ll Need
- LEDs (various colors)
- Resistors
- Arduino or similar microcontroller
- Breadboard
- Jumper wires
Steps to Build
- Design the Cube: Plan the dimensions of your cube (e.g., 4x4x4).
- Assemble the Circuit: Use a breadboard to connect the LEDs and resistors.
- Program the Microcontroller: Write code to control the LED patterns.
- Test and Iterate: Make adjustments as needed to improve the visual effects.
Resources
For a detailed guide on programming your LED cube, visit Arduino Project Hub.
2. Smart Mirror
Overview
A smart mirror is a fantastic project that combines functionality with aesthetics. This two-way mirror displays information such as time, weather, and news, making it a perfect addition to any home.
What You’ll Need
- Two-way mirror
- Monitor or tablet
- Raspberry Pi or similar computer
- Wood for the frame
- Power supply
Steps to Build
- Prepare the Frame: Build a frame to hold your monitor and the two-way mirror.
- Install the Software: Use a smart mirror software like MagicMirror².
- Connect the Hardware: Set up the Raspberry Pi and connect it to the monitor.
- Customize Your Display: Add modules for weather, news, and calendar.
Resources
For software installation instructions, check out the MagicMirror² documentation.
3. Home Automation System
Overview
A home automation system allows you to control various devices in your home remotely. This project is not only practical but also a great introduction to IoT (Internet of Things).
What You’ll Need
- Raspberry Pi or Arduino
- Relay modules
- Sensors (temperature, motion, etc.)
- Smart devices (lights, thermostat, etc.)
- Wi-Fi connection
Steps to Build
- Set Up the Microcontroller: Install necessary libraries and software.
- Connect the Relay Modules: Wire the relay to control your devices.
- Integrate Sensors: Add sensors to automate actions.
- Create a Control Interface: Build a mobile app or web interface for remote access.
Resources
For more information on home automation, visit Instructables.
4. Bluetooth Speaker
Overview
Building a Bluetooth speaker is a fun project that allows you to create a portable sound system tailored to your preferences.
What You’ll Need
- Bluetooth module
- Amplifier
- Speakers
- Battery pack
- Enclosure (can be made from wood or plastic)
Steps to Build
- Design the Enclosure: Choose a design that fits your speakers and components.
- Connect the Bluetooth Module: Wire the module to the amplifier.
- Install the Speakers: Secure the speakers in the enclosure.
- Power Up and Test: Connect the battery pack and test the audio output.
Resources
You can find detailed instructions on building Bluetooth speakers at Make:.
5. Weather Station
Overview
Creating a weather station is an educational project that allows you to collect and analyze weather data. It can also serve as an excellent introduction to data logging and analysis.
What You’ll Need
- Arduino or Raspberry Pi
- Sensors (temperature, humidity, pressure)
- Display module (LCD or LED)
- Data logging software
Steps to Build
- Set Up the Sensors: Connect the sensors to your microcontroller.
- Write the Code: Program the microcontroller to read and log data.
- Display the Data: Use an LCD or LED to show current conditions.
- Analyze Your Data: Collect data over time and analyze trends.
Resources
For detailed steps, refer to Adafruit Learning System.
Conclusion
Building electronics projects at home not only enhances our understanding of technology but also allows us to create functional and fun devices. Whether you’re starting with an LED cube or venturing into home automation, each project offers unique learning experiences. As we explore these projects, we engage our creativity, develop critical thinking skills, and enjoy the satisfaction of building something with our own hands.
Feel free to share your experiences with these projects or any others you’ve tackled at home in the comments below. Happy building!
<iframe width="560" height="315" src="https://www.youtube.com/embed/Td1d5iMF3EQ?si=xx9QuczkJ0Jo6Ppa" title="YouTube video player" frameborder="0" allow="accelerometer; autoplay; clipboard-write; encrypted-media; gyroscope; picture-in-picture; web-share" referrerpolicy="strict-origin-when-cross-origin" allowfullscreen></iframe>


.jpg?w=100&resize=100,70&ssl=1)
